This sequence establishes a useful workshop without requiring every advanced feature. To configure a second computer as a secure Client of an existing workshop, see BrickSuite Server.
Use the Workspace tab to create or select the logical workshop. Settings can choose the Workspace selected at later startup.
Add the hierarchy from broad areas down to usable leaves. Set each location's Used For capability. Loose inventory requires an active Inventory or Both leaf; Collection items require an active Collection or Both leaf.
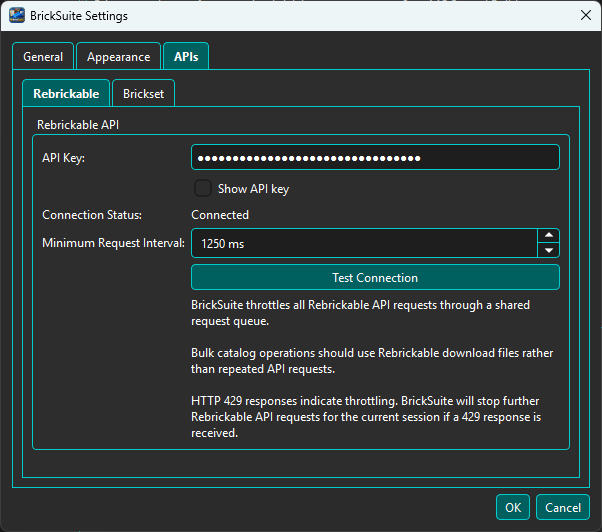
Rebrickable API configuration is optional for bulk-file import. Add it under Settings → APIs when you want API-backed images, enrichment, or an explicit Get Parts from Rebrickable... refresh. Add Brickset for Set enrichment and instructions.
Download the official Rebrickable bulk files into one folder. BrickSuite recognizes all twelve supported datasets: Themes, Colors, Part Categories, Parts, Elements, Part Relationships, Sets, Minifigs, Inventories, Inventory Parts, Inventory Minifigs, and Inventory Sets. The downloaded .csv.zip files can be used directly; extraction is optional.
BrickSuite does not download these files automatically. Obtain current copies from Rebrickable whenever you want to initialize or update the local catalogs and composition.
Choose Tools → Import Rebrickable Data Files..., select the download folder, review the discovered files and dependencies, then choose Import. This Global Rebrickable Importer is the normal setup and update path. Missing datasets may be omitted for a partial update; invalid or ambiguous input is identified before that dataset changes the database.
See Rebrickable Import for dataset and transaction details.
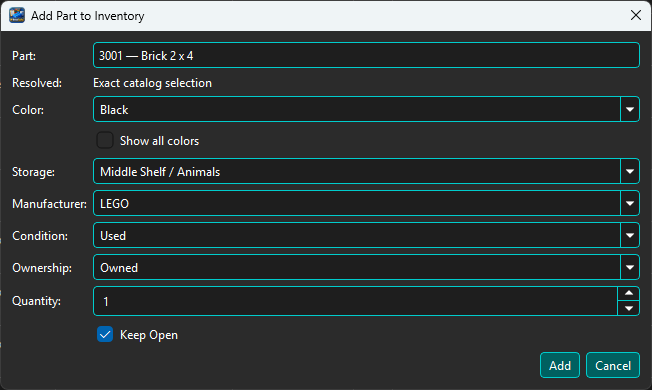
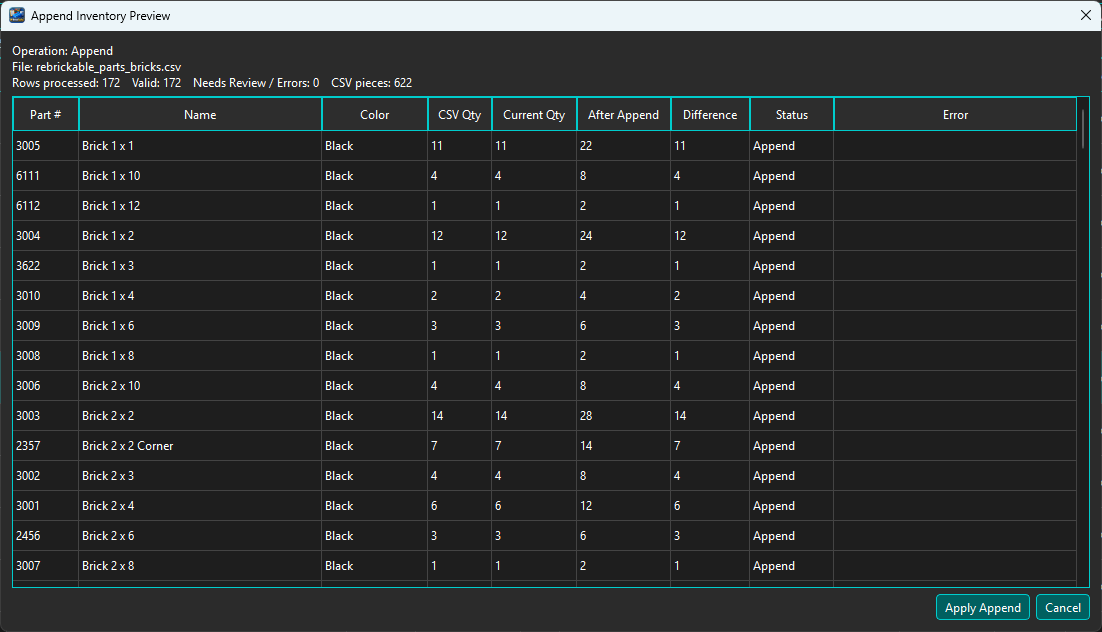
In My Inventory choose Add Part..., or choose Import CSV for a previewed operation. Confirm Part/Color, Storage, Manufacturer, Condition, Ownership, and Quantity before committing.
Open Set or Minifig Details. Locally imported composition appears automatically when available; choose Create Build From Stock... to snapshot its required pieces. Get Parts from Rebrickable... and Import Parts List... remain optional manual refresh or replacement paths. Alternatively, create a MOC and enter or import its requirements. Allocate, review Missing Parts, pull, and complete when required quantities are satisfied.
Use Add to Collection in Set or Minifig Details, or use an eligible completed Build's Actions menu. Review State, Condition, Completeness, Location, nickname, and notes.
Create a manual backup with File → Backup Database.... Optionally configure automatic backup root, frequency, and retention under Settings.
Getting Started | My Inventory | Builds | Backup / Restore
For optional source-backed 3D viewing, printing, and calibration, configure the installed LDraw library in Edit → Settings → 3D Models. See LDraw setup.